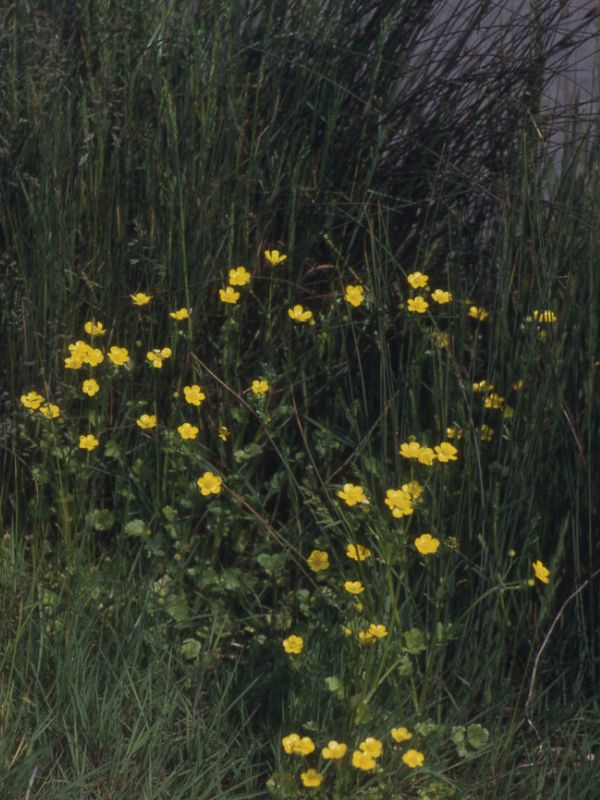
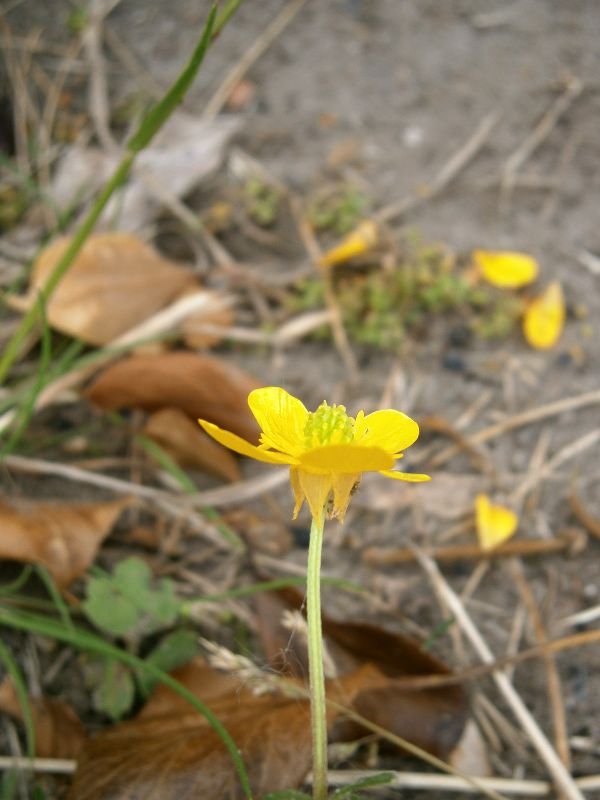
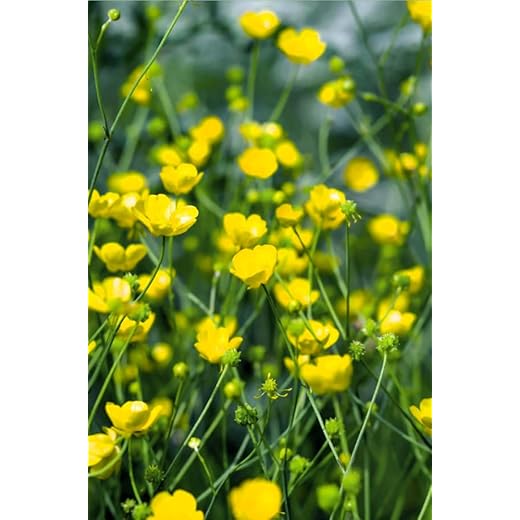
Hairy Buttercup, also known as Hairy Crowfoot, is an annual weed from the Ranunculaceae family, native to Eurasia. It also grows naturally in the Canary Islands and North Africa but has since spread worldwide. This resilient plant thrives in fields and pastures, where its bright saffron-colored flowers create a striking contrast against the greenery.
The plant is easily recognizable by its distinctive hairy stems and leaves, which give it its common name. Despite its appealing flowers, it is often considered invasive due to its ability to spread quickly, making it a common sight in agricultural and grazing lands.
| Common name | Hairy Buttercup, Hairy Crowfoot |
| Botanical name | Ranunculus sardous |
| Family | Ranunculaceae |
| Species | sardous |
| Origin | Eurasia |
| Life cycle | Annual |
| Plant type | Weed |
| Maintenance | High |
| Growth rate | Fast |
| Spacing | Less than 12 in. |
| Flowering period | Spring |
| Height | 1 in. – 3 ft. |
| Flower color | Gold, Yellow |
| Leaf color | Green |
| Fruit color | Green |
| Stem color | Brown, Copper |
| Fruit type | Achene |
I. Appearance and Characteristics
Ranunculus sardous is a species of buttercup known by the common name hairy buttercup. It is native to Europe and it can be found in many other areas of the world, including parts of the United States and Australia, as an introduced species and a roadside and lawn weed.
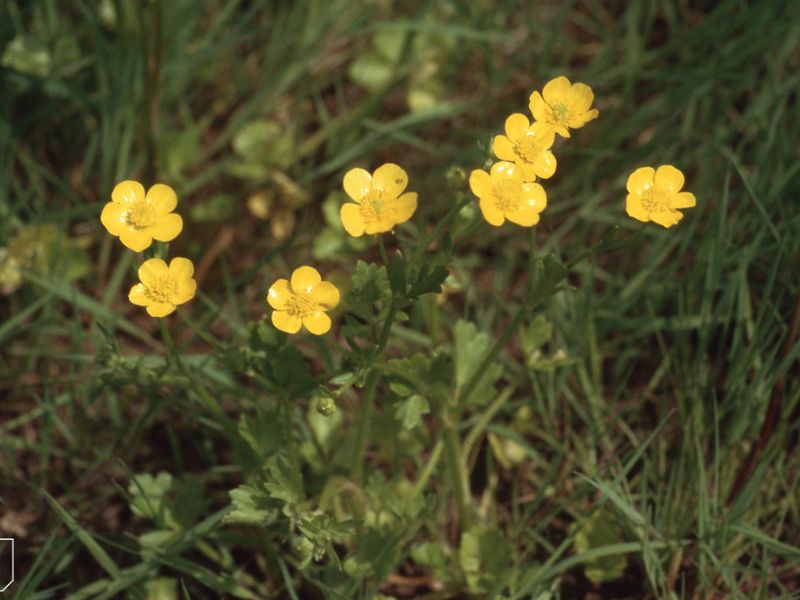
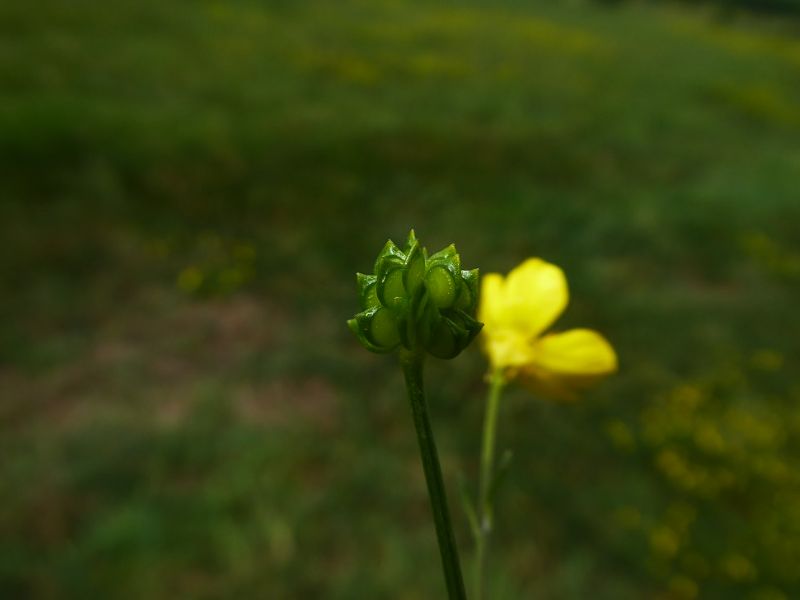
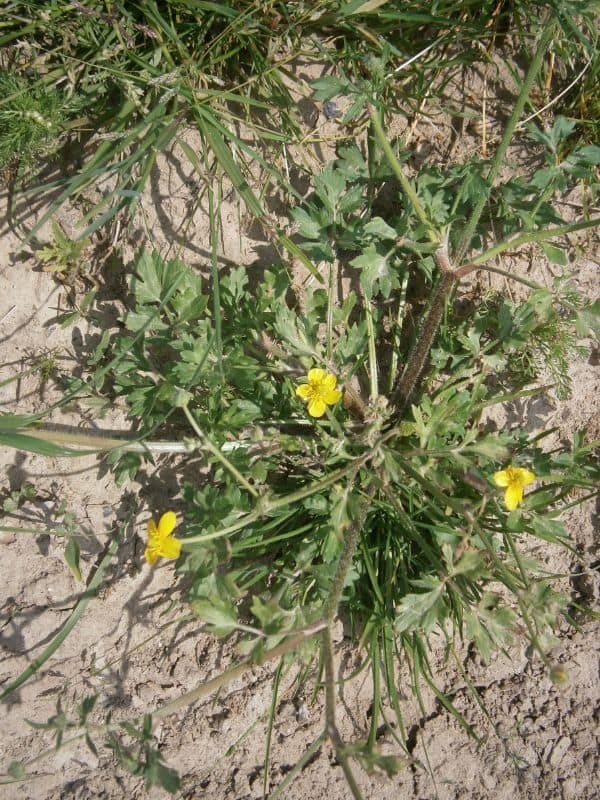
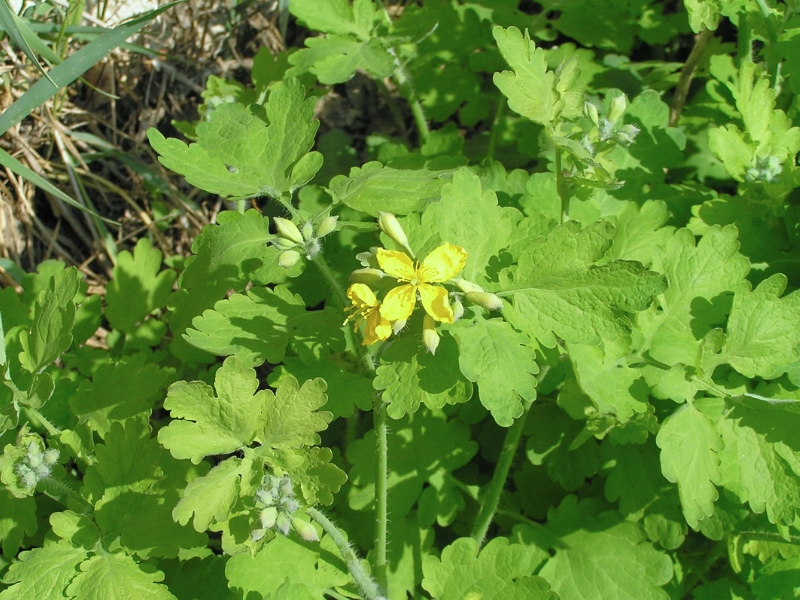
It grows in many types of disturbed habitat, especially in moist areas. It is an annual or biennial herb producing a mostly erect, hairy stem up to half a meter tall. The hairy leaves are usually divided into three leaflets which are borne on petioles a few centimeters in length. The flower usually has five yellow petals each up to a centimeter long and five reflexed sepals. The fruit is an achene borne in a spherical cluster of up to 35.
II. How to Grow and Care
Sunlight
Hairy buttercup grows best in full sun. It cannot grow without sunlight during the growth period, and won’t bloom without enough sunlight. Selecting a sunny location of your garden beds will help you induce early flowering. It can be planted in raised beds if light conditions don’t support it well in your outdoor garden.
For indoor cultivation, place on sunny balconies or rooftops, or near windows. In winter, sunlight gradually weakens. You may need to move it to a sunnier place to receive more sun.
Temperature
Hairy buttercup likes a dry and cool climate but is not resistant to severe cold or heat. The best temperature for growth is around 16 ℃ in the daytime and 8 ℃ at night. It won’t grow well if the temperatures between day and night differ too much.
Hairy buttercup will go dormant in the high temperatures of summer. The temperature in winter should not go lower than 0 ℃. It likes a moist environment, but can’t tolerate accumulated water in the root zone. During active plant growth, water 9 to 10 mm weekly to keep the topsoil moist. When the plant is dormant with only the bulb present under the soil, water 7 to 8 mm every two weeks.
Watering
Native to moist meadows, hairy buttercup thrives in environments that mimic its natural habitat’s consistent moisture levels. This species exhibits a preference for evenly moist soil and tolerates brief periods of wetness but is not drought-resistant. Watering should occur once every week to maintain optimal hydration. Typically grown outdoors due to its need for environmental humidity, hairy buttercup flourishes when the surrounding microclimate supports its growth cycle with adequate rainfall and dew accumulation.
Soil
Hairy buttercup likes to grow in well-drained acidic soils, with more nutrients and good air permeability. For potted plants, mix garden soil, leaf mold, and fine sand at a 4:2:1 ratio. The suitable soil pH is 5.8-6.5, which allows the root system to absorb oxygen smoothly and grow well.
For potted plants, use sandy loam that is rich in humus. This kind of soil is rich in nutrients, loose, and aerating, which is beneficial for root development and growth. Soil compaction or poor drainage can result in rotting roots due to waterlogging, so the flowerpot should be changed or the soil improved if plants appear rootbound.
Fertilizing
Before planting, apply fully decomposed organic fertilizer as a base. Mix 1/3 of fully decomposed organic matter into the planting soil evenly. No top dressing is required before you plant the corms. After planting, fertilize with diluted NPK during blooming time.
After the flowers wither, apply fertilizer rich in potassium or phosphorus 1-2 times; spray the foliage with water-soluble NPK (0:10:11). Keep fertilizing your hairy buttercup until the foliage turns yellow and withers and the leaves start to fall from the plant. This is when underground corms are storing energy for future crops.
Planting Instructions
Always buy healthy, jumbo-size corms, as they yield more branches and flowers. Plant 10 to 15 cm apart and bury corms 5 cm below garden soil, with claws facing downward., Soak corms in water for 12 hours to help them germinate and keep them in controlled temperature for 15 days. Hairy buttercup can be planted outdoors when sprouting starts.
This process initiates earlier flowering than the conventional sowing method. The temperature for planting corms is 10 to 15 ℃; they will germinate in 2 weeks., Sowing by seed also works in spring or fall. Disinfect the planting medium before spreading it in the bed. Wet the soil and evenly spread seeds after the water permeates. Cover seeds with fine soil and moisten occasionally if needed. It takes about 15-90 days for seeds to germinate, depending on the variety.
Pruning
Deadhead faded flowers during the active growing season. That encourages more bloom while cutting fresh flowers. When flowering stops and leaves start to yellow and wither, stop watering the plants and allow the leaves to die back fully.
Cut off the entire top of the plant, dig the corms out, and store them in a cool, dry place for the upcoming season. Treat corms with a fungicide solution before storing and planting. Where corms are hardy in the soil, they can be left undisturbed as long as the soil is kept dry during summer. As for potted plants, reserve 3-5 robust flower buds for each plant during the bud stage, and pick the rest.
Propagation
Hairy buttercup can be propagated by corms, seed, or ramet. Ramet planting is usually done in fall. Dig out the stock plant from the flowerpot, shake the soil from the roots completely, and manually separate the stock plant. Ensure each part has 1-2 new buds and 3-4 small tuberous roots. Place them in 1% potassium permanganate solution for 3-5 minutes to disinfect; then dry and plant them. Plant in an open field in fall when the temperature is no higher than 20 ℃. They will germinate in around 20 days.
Transplanting
The optimal time to transplant hairy buttercup is during its dormancy period i.e late summer to early autumn (S2-S3). This season ensures minimal stress to the plant. Before transplanting, choose a sunny location with well-drained soil. Remember to water regularly after transplanting to maintain optimal growth.
III. Harvesting and Storage
Hairy buttercup rewards the gardener generously when they blossom. Harvest when the buds are colored. Use sharp garden shears to harvest them when the temperature is low in the morning and put them in a vase with clean water promptly to avoid water loss. These beauties may have 5-7 days’ vase life.
IV. How to Control
Many landscapers successfully control buttercups simply through the application of soil amendments. Since these invasives prefer soil with very low fertility, working and fertilizing garden beds can be quite helpful in eliminating this nuisance plant. These species of ranunculus can also be removed mechanically, as any other garden weed. Your best chance of success is removing the plants while they are still quite small.
Proper safety equipment, such as gloves and eye protection are required when handling these plant materials. Established groups of buttercups may require the use of chemical herbicides. This is most common when treating large lawns, pastures, and sport fields. Remember, before you apply any herbicide, it’s essential to carefully read the manufacturer’s label for safe use.
Note: Any recommendations pertaining to the use of chemicals are for informational purposes only. Chemical control should only be used as a last resort, as organic approaches are safer and more environmentally friendly.




Leave a Reply